HP Microserver Gen8 - Install ClearOS remotely
microserver
gen8
install
clearos

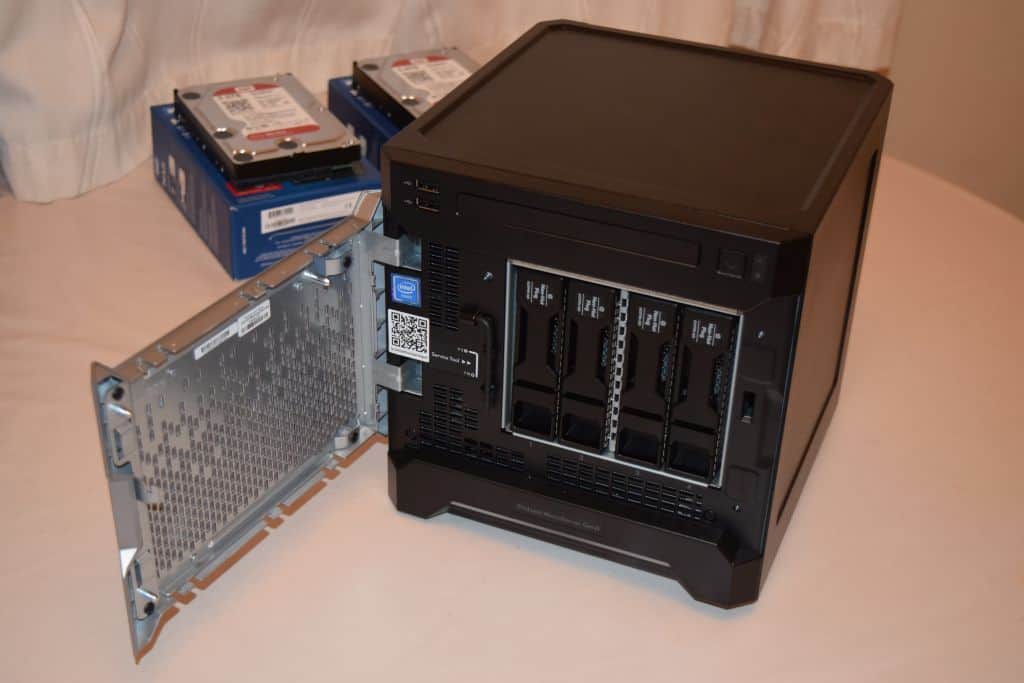
In this article will present How to install ClearOS on the SSD drive installed in the ODD bay.
Note: Follow the HP Microserver Gen8 - Install SSD in ODD slot tutorial to see how to install the SSD.
For installation follow the next steps.
Step 1 - ILO network connected
Make sure the ILO network cable is connected to your router.
Step 2 - ILO network IP
Identify the IP assigned to ILO interface by your router. How to find out the IP depends on the router model. Check the router manual for details.
In my case, the IP is 192.168.1.102.
Step 3 - up and running
Make sure that the server is running (the blue light is on).
Step 4 - ILO login
Login to ILO Dashboard. The default user is administrator. Both, default user and the password can be found on the back of the server.
Step 5 - remote connection
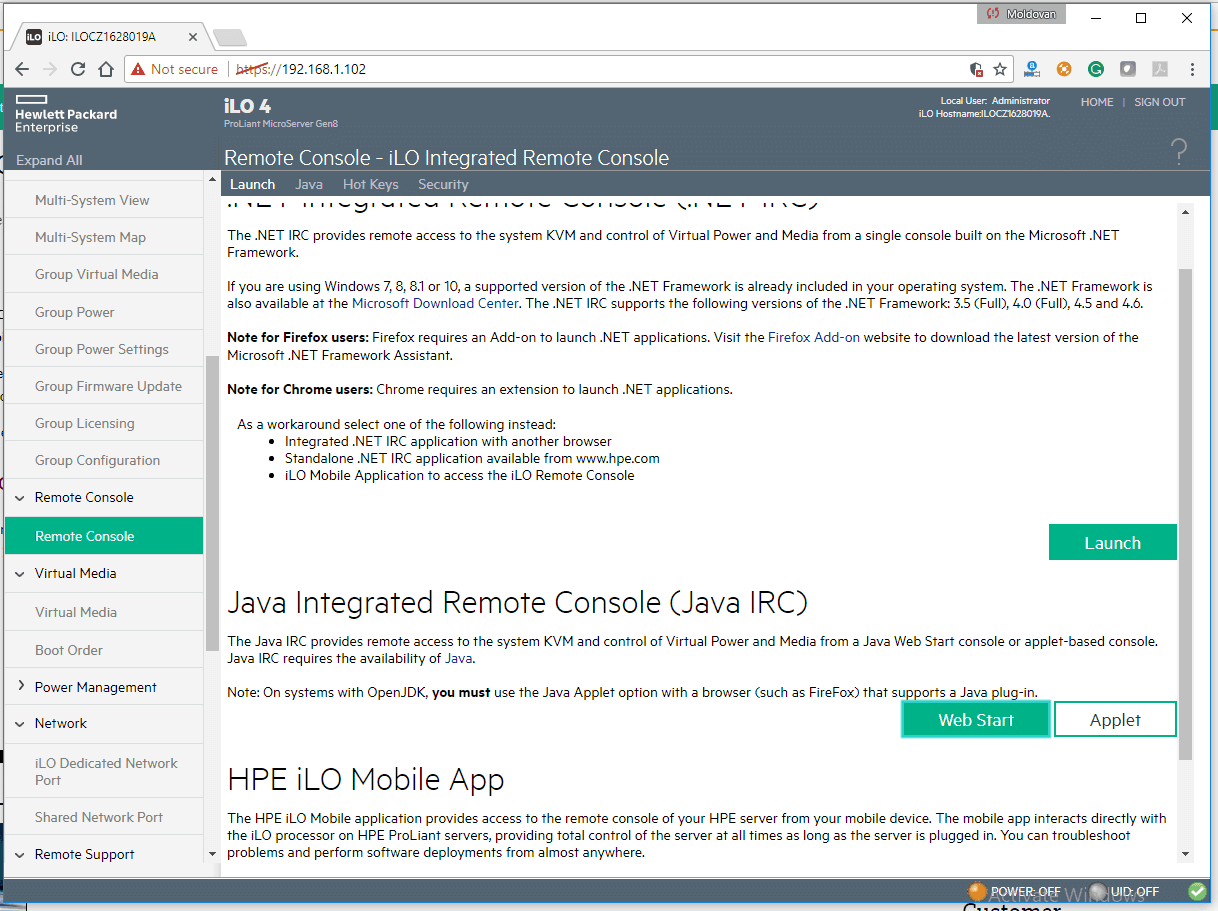
Navigate to Remote Console -> Remote Console
There are 2 methods to connect to the remote console:
- a .NET application that can be launch from Windows OS only.
- Java Applet or Web Start that can be launch from any operating system. Java needs to be installed and active from the browser.
I went with Java Web Start option.
Step 6 - boot menu
During the boot process press F11 to select the boot order.
Step 7 - select ISO image
From Virtual Drivers menu select Image File CD/DVD-ROM option, browse for the ClearOS downloaded image from ClearOS download page.
Step 8 - boot order
Select One time boot to CD-ROM to continue.
Step 9 - start install
Start the installation by selecting the Install ClearOS 7.7.2.280072 option.
(you can use the up/down keys to select followed by enter to start)
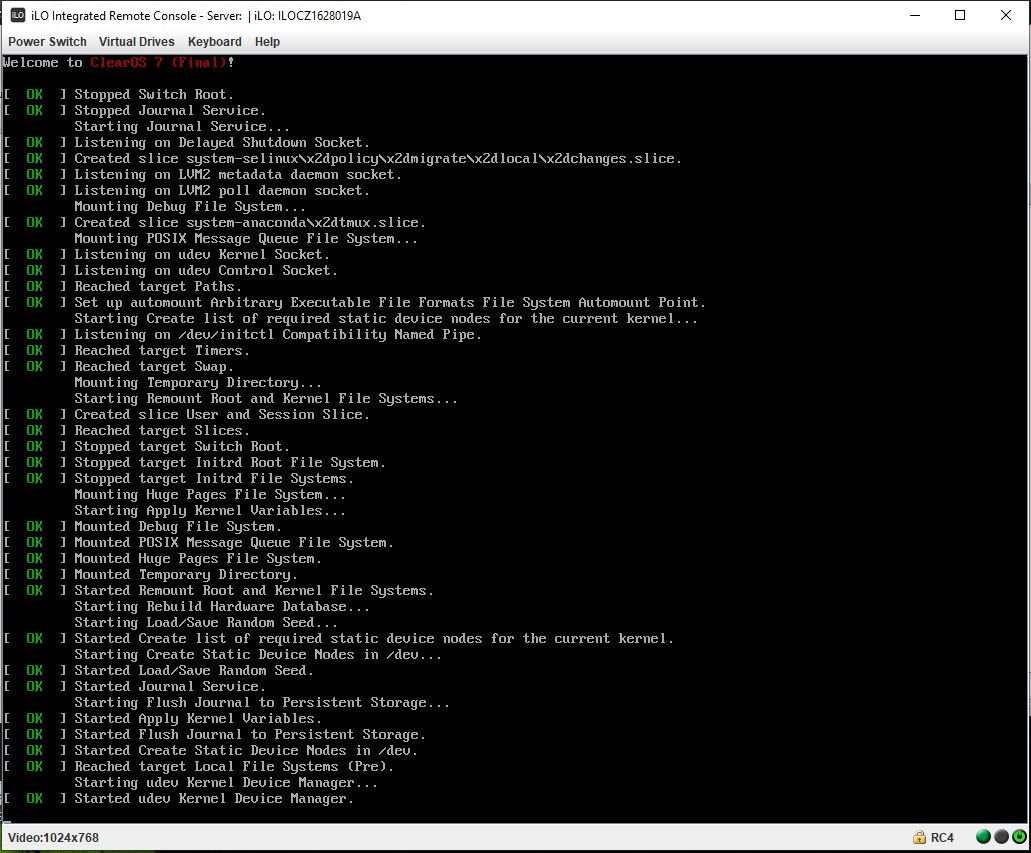
The next step will start the process to install ClearOS. It will last some time, based on your server configuration. The screen will change a few times before the graphic installer will start with the welcome screen.
Step 10 - welcome screeen
Select the language and then press Continue button.
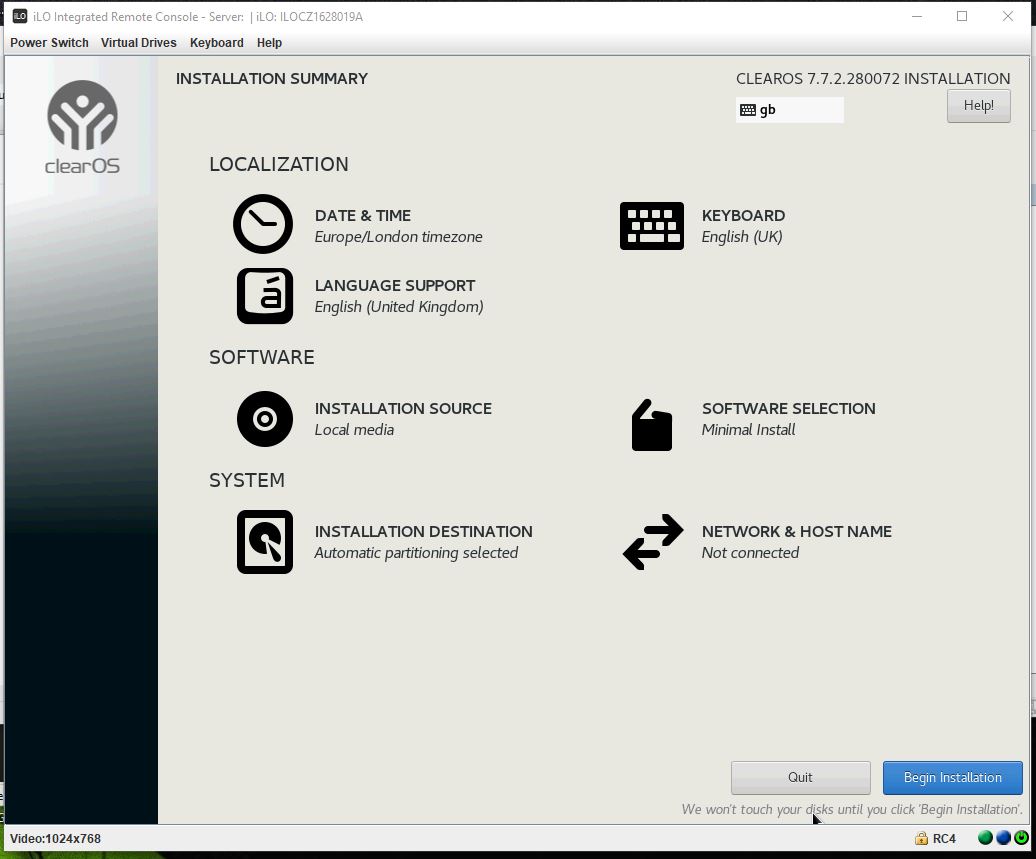
Step 11 - Installation destination
Under the System section select the installation destination to choose the disk for the ClearOS.
I will use the SSD drive that is installed into the ODD drive (bay 5). For details how to install and boot from ODD drive follow these tutorials:
- HP Microserver Gen8 - Install SSD in ODD slot
- HP Microserver Gen8 - Configure the RAID remotely
- HP Microserver Gen8 - Boot from SSD install on ODD bay
Select the destination disk and click Done to return to the previous screen.
If your drive is not empty and is estimated that the ClearOS will not have enought space, you will be greeted by this screen:
click Reclaim space to format and continue.
click Delete all button to select the action and then click Reclaim space button to clean the disk.
This will go back to the main screen, but this time the warning is gone and the Begin Installation button is active.
Step 12 - Install
click Begin Installation button to start the installation.
Step 13 - Root password
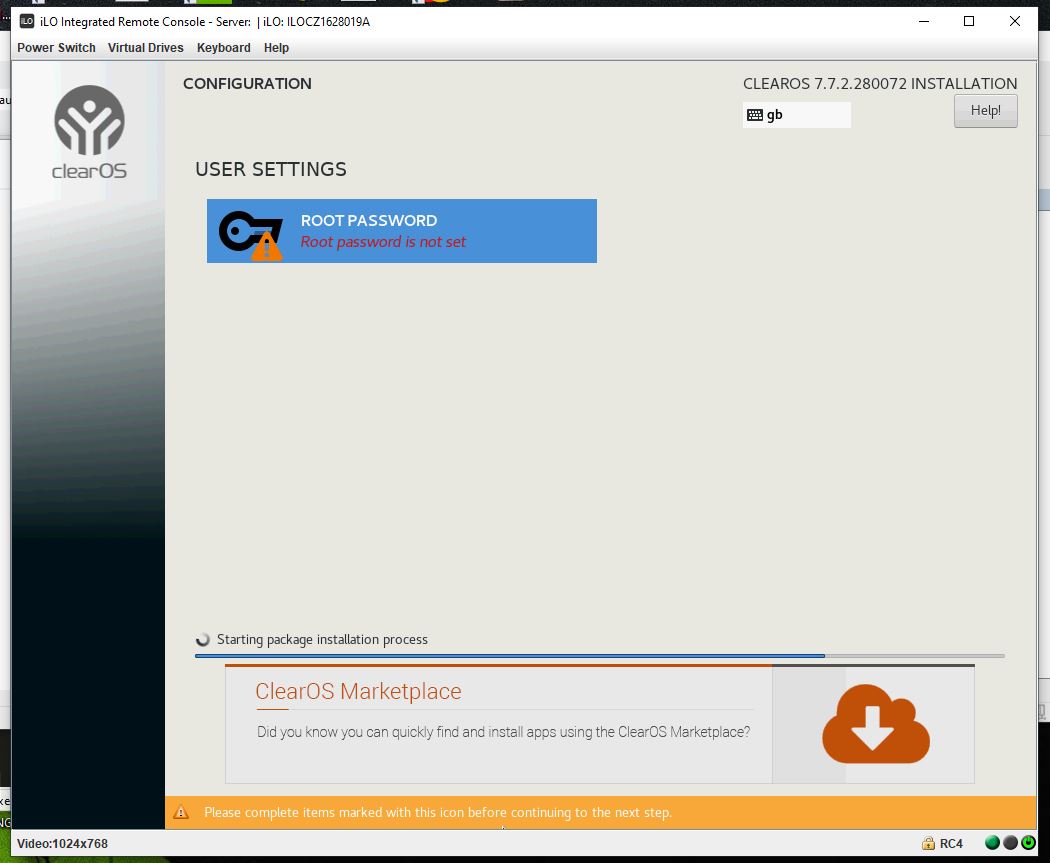
Durring the setup you need to setup the root password. Under User Settings section click Root Password
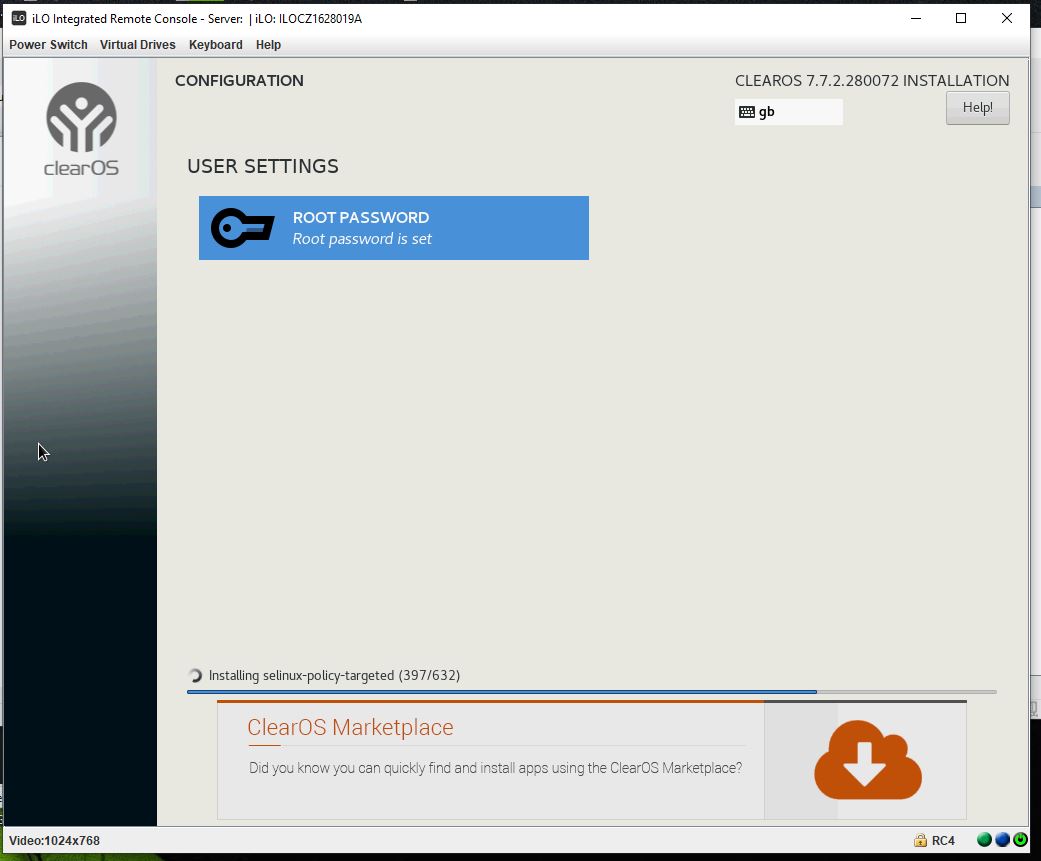
enter the password and click Done when ready to return to the installation progress screen.
Note that the warning for the root password dissapeared now.
Step 14 - installation completed
After a while the installation is completed and the server is ready to be rebooted.
Note: Don't forget to remove the installation disk.
After the restart the welcome screen will be displayed:
You can also access the ClearOS configuration console from browser, in my case it will be https://192.168.1.142:81
If you want to use the console directly click Exit to Text Console.
Login from the browser:
