HP Microserver Gen8 - Configure the RAID remotely
HP Microserver Gen8
RAID
remote

In this article will present how to configure RAID on HP Microserver Gen8.
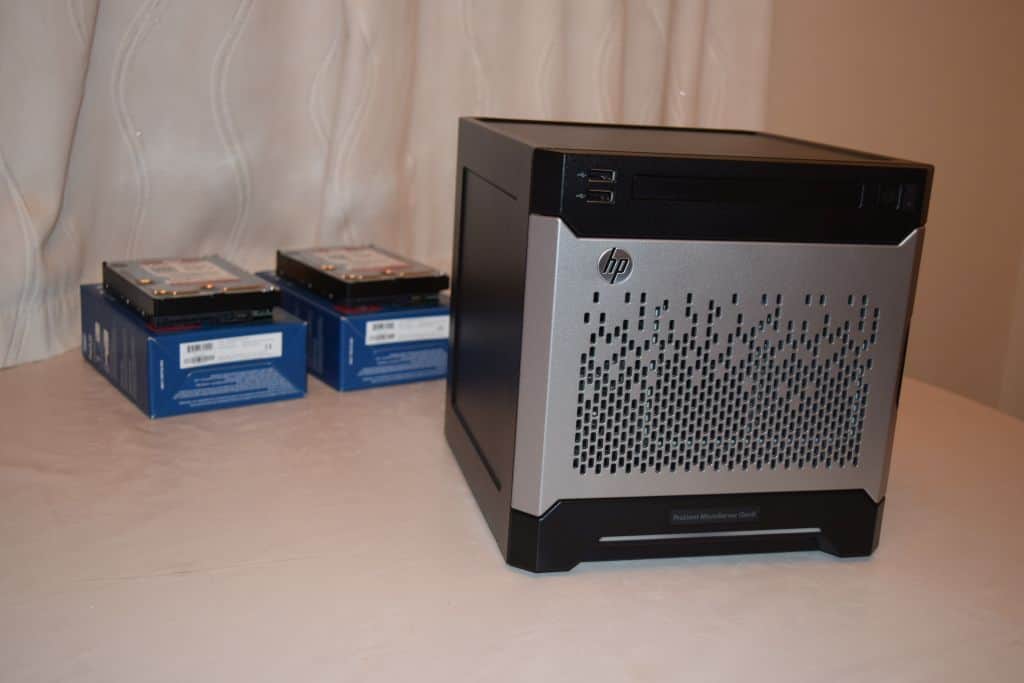
I have in hand the following configuration:
- HPE Microserver Gen8;
- 2 x WD red 3Tb;
- 1 x Samsung Pro 840 128Gb.
To configure RAID follow the next steps:
Step1
Make sure the ILO network cable is connected to your router.
Step2
Identify the IP assigned to ILO interface by your router. How to find out the IP depends on the router model. Check the router manual for details.
In my case, the IP is 192.168.1.102.
Step3
Start the server.
Step4
Login to ILO Dashboard. The default user is administrator.
Step5
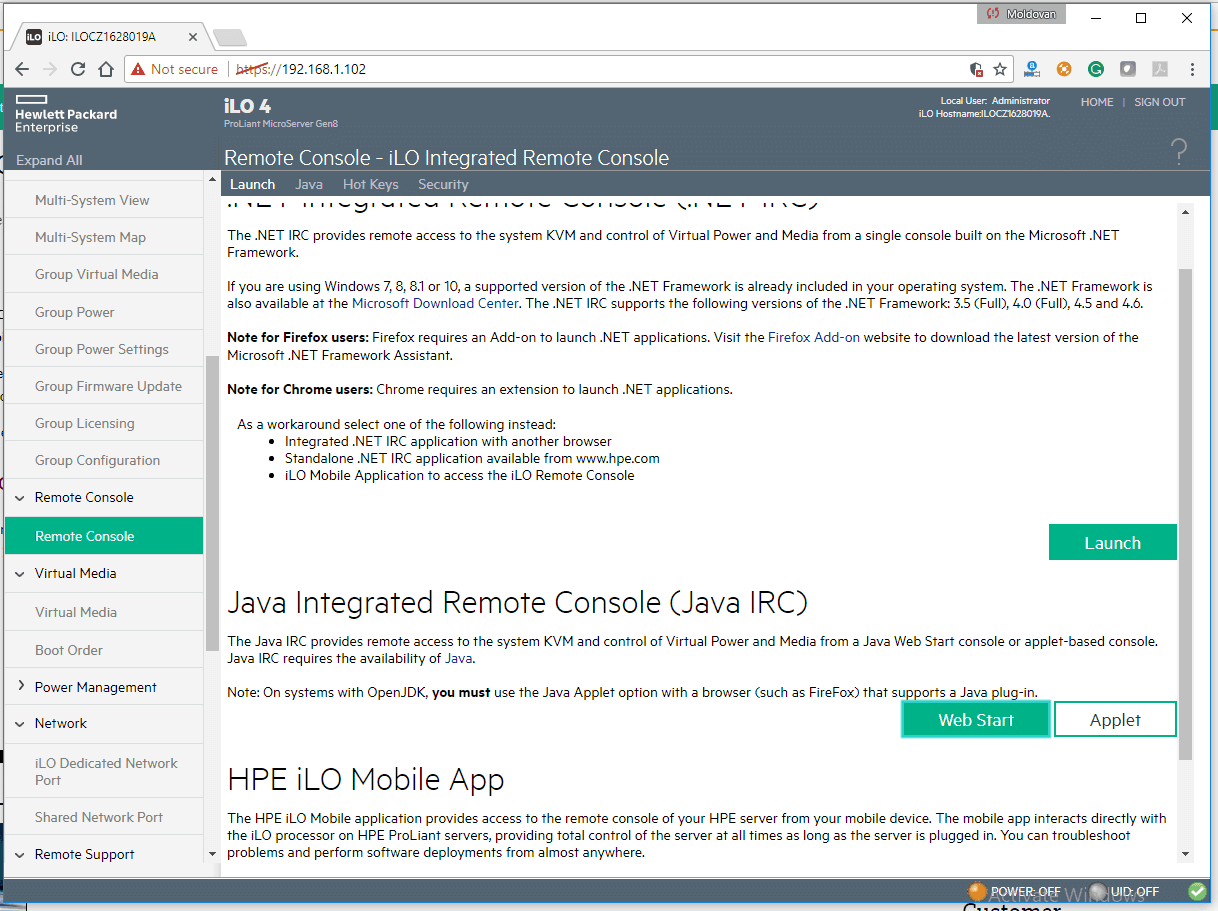
Navigate to Remote Console --> Remote Console
There are 2 methods to connect to the remote console:
- a .NET application that can be launch from Windows OS only.
- Java Applet or Web Start that can be launch from any operating system. Java needs to be installed and active from the browser.
I went with Java Web Start option.
Step6
Because we started the server in Step3 the boot sequence will try to boot and because there is no OS yet will reboot every 5 sec. Press F10 when the following screen appears.
Step7
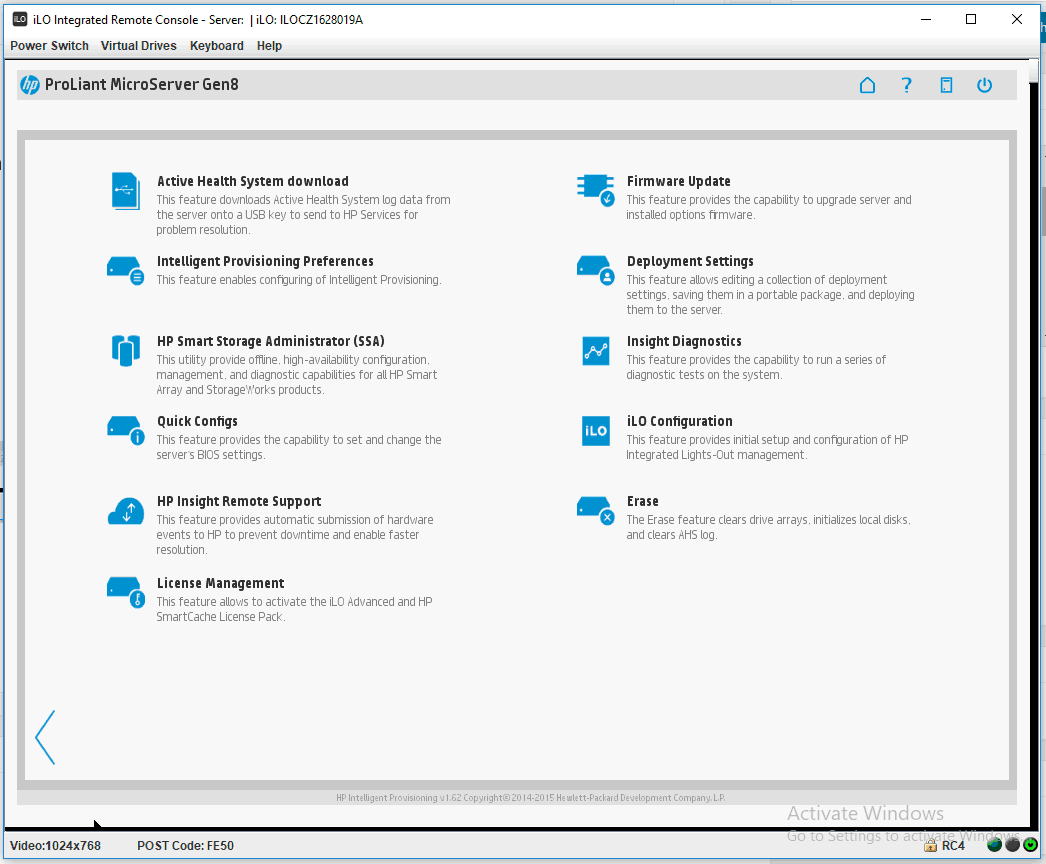
Click on Performance Maintenance button.
Step8
Click on HP Smart Storage Administrator (SSA).
Step9
Select the Array Controller (Dynamic Smart Array B120i RAID) and then click Configure button under Actions section.
Step10
Click on Create Array under Actions section.
Step11
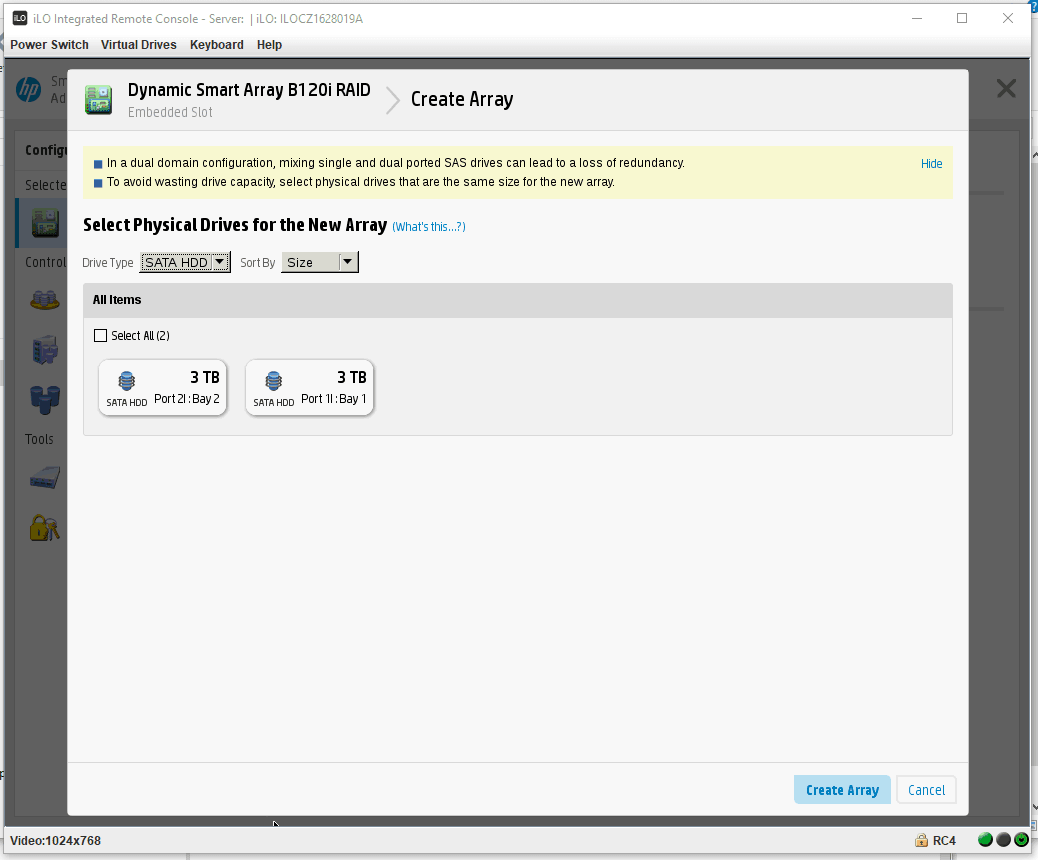
Select the drive you want to add to the array (my case 2 WD RED 3Tb) and then click Create Array.
Step12
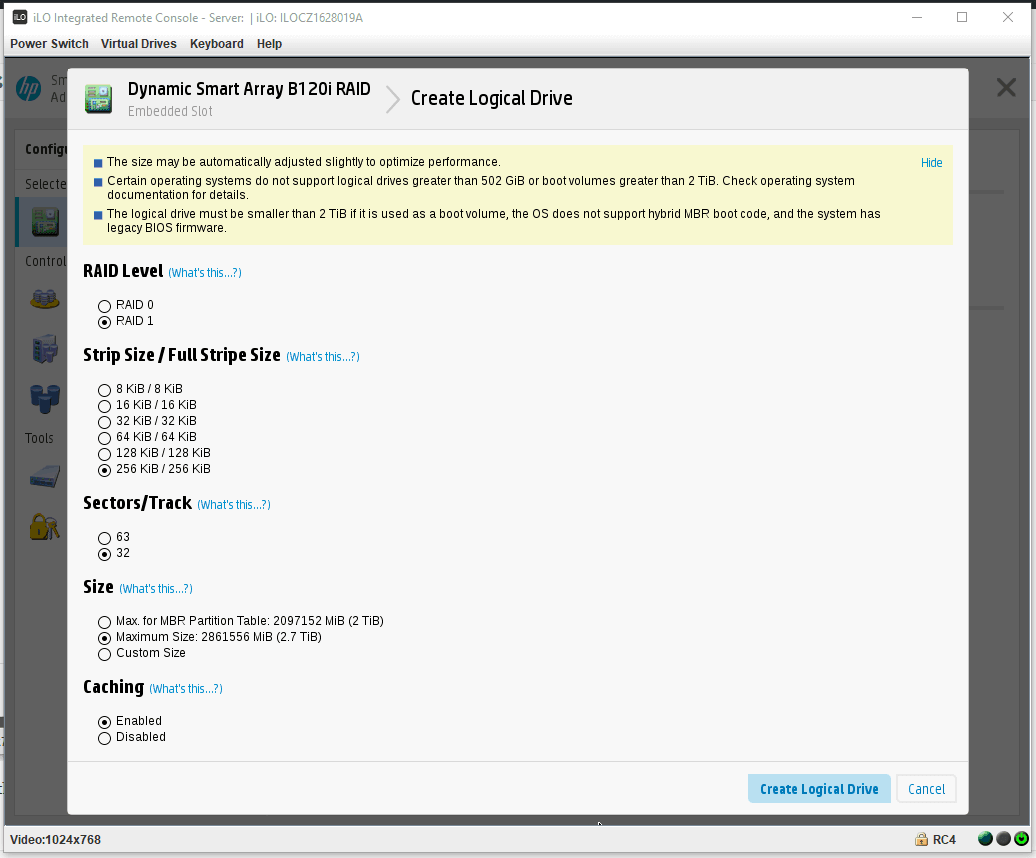
In this step, we need to select the RAID options.
The RAID level options are:
- 0 - RAID 0 splits data evenly across two or more disks, without parity information, redundancy, or fault tolerance. The main disadvantage is that the failure of one drive will cause the entire array to fail; as a result of having data striped across all disks, the failure will result in total data loss.
- 1 - RAID 1 consists of an exact copy of a set of data on two or more disks; a classic RAID 1 mirrored pair contains two disks.
For my purpose (data storage), I will choose RAID 1 option.
Click Create Logical Drive button to continue.
Step13
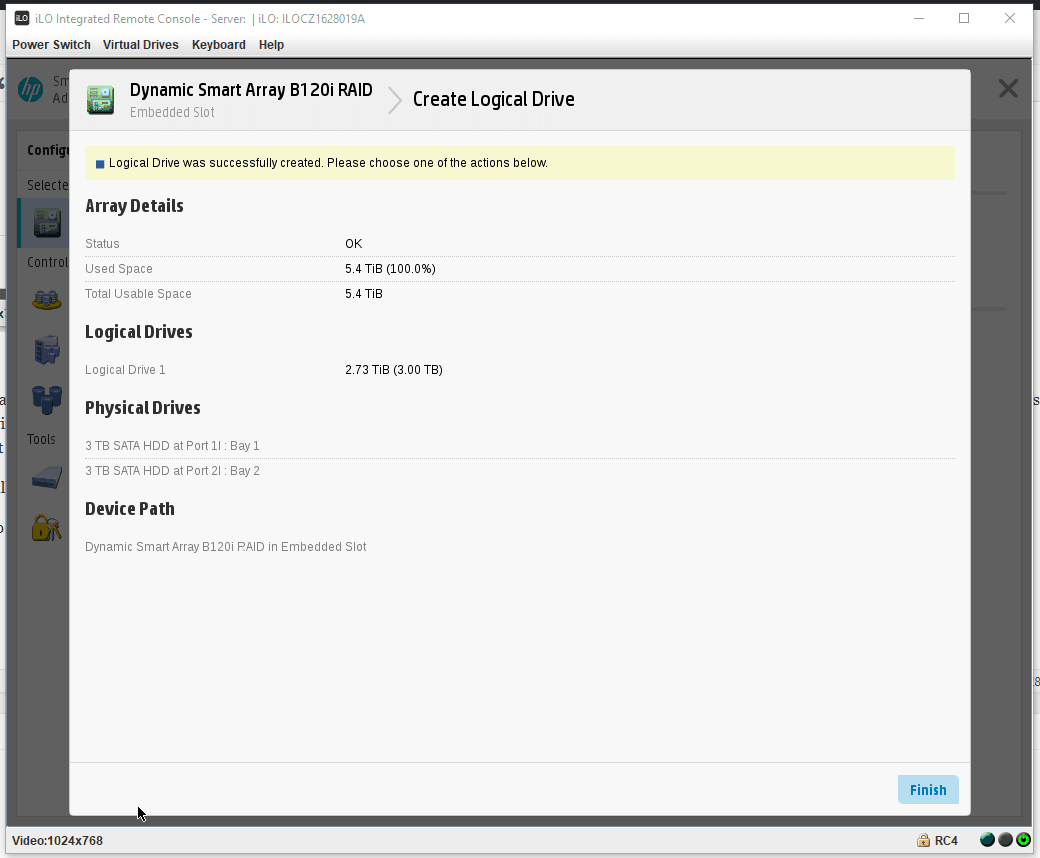
Click Finish.
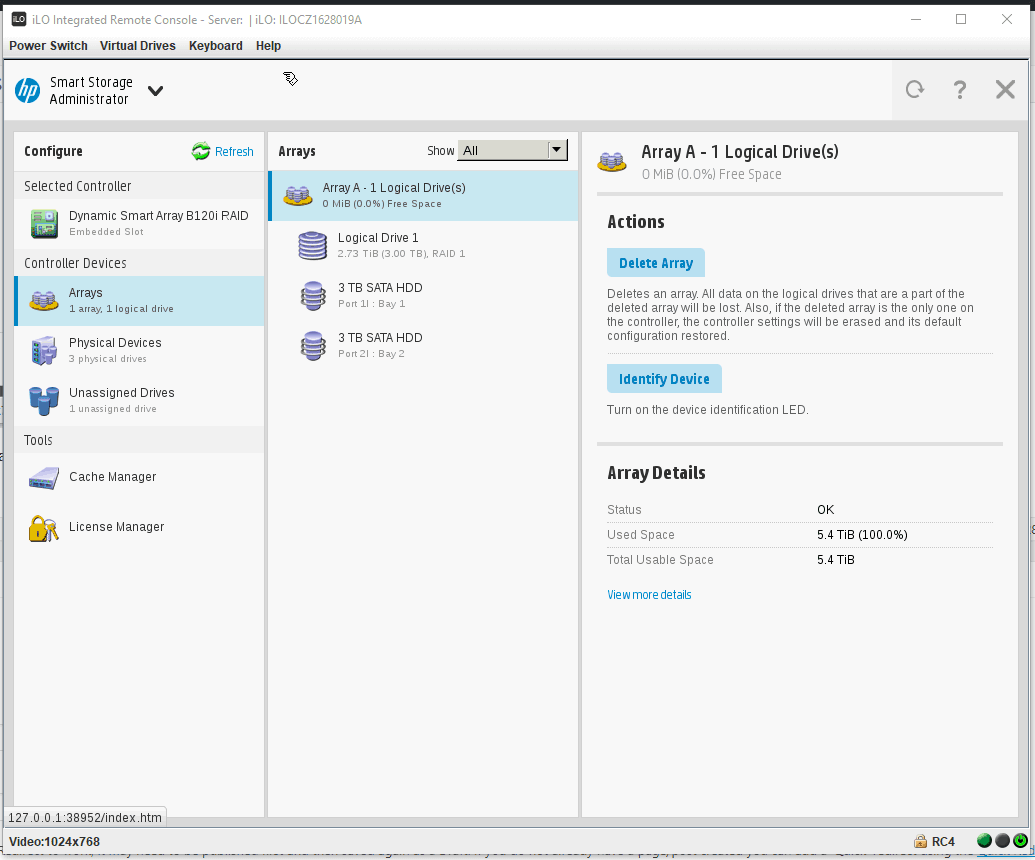
Congratulation you successfully created a RAID Logical Drive.
