HP Microserver Gen8 - Boot from SSD install on ODD bay
microserver
gen8
booting
boot
odd
ssd

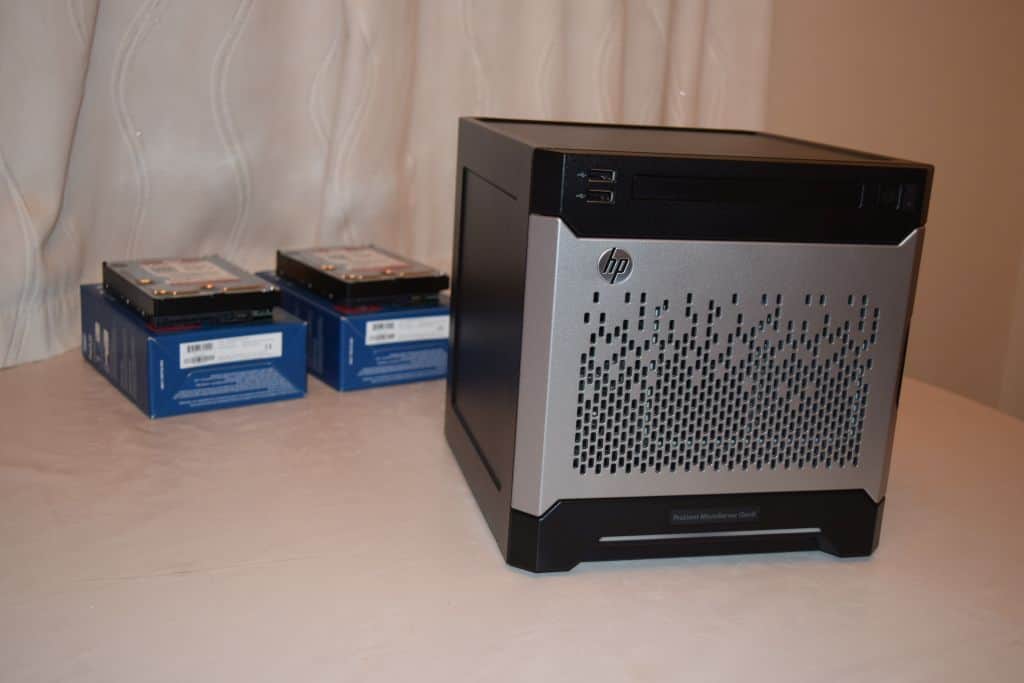
In this tutorial will show how to configure the HP Microserver Gen8 to boot from SSD installed into ODD drive. Because my server has no monitor and keyboard attached I will present the remote option.
I have in hand the following configuration:
- HP Microserver Gen8;
- 2 x WD RED3Tb - connected in bay 1 and bay 2;
- 1 x Samsung Pro 840 128Gb connected in bay 5 (the ODD slot). If you need help to install the SSD drive follow HP Microserver Gen8 - Install SSD in ODD slot tutorial.
To configure the HP Microserver Gen8 too boot from the ODD slot, dedicated for the optical drive check the following steps.
Step 1
Make sure the ILO network cable is connected to your router.
Step 2
Identify the IP assigned to ILO interface by your router. How to find out the IP depends on the router model. Check the router manual for details.
In my case, the IP is 192.168.1.102.
Step 3
Start the server.
Step 4
Login to ILO Dashboard. The default user is administrator.
Step 5
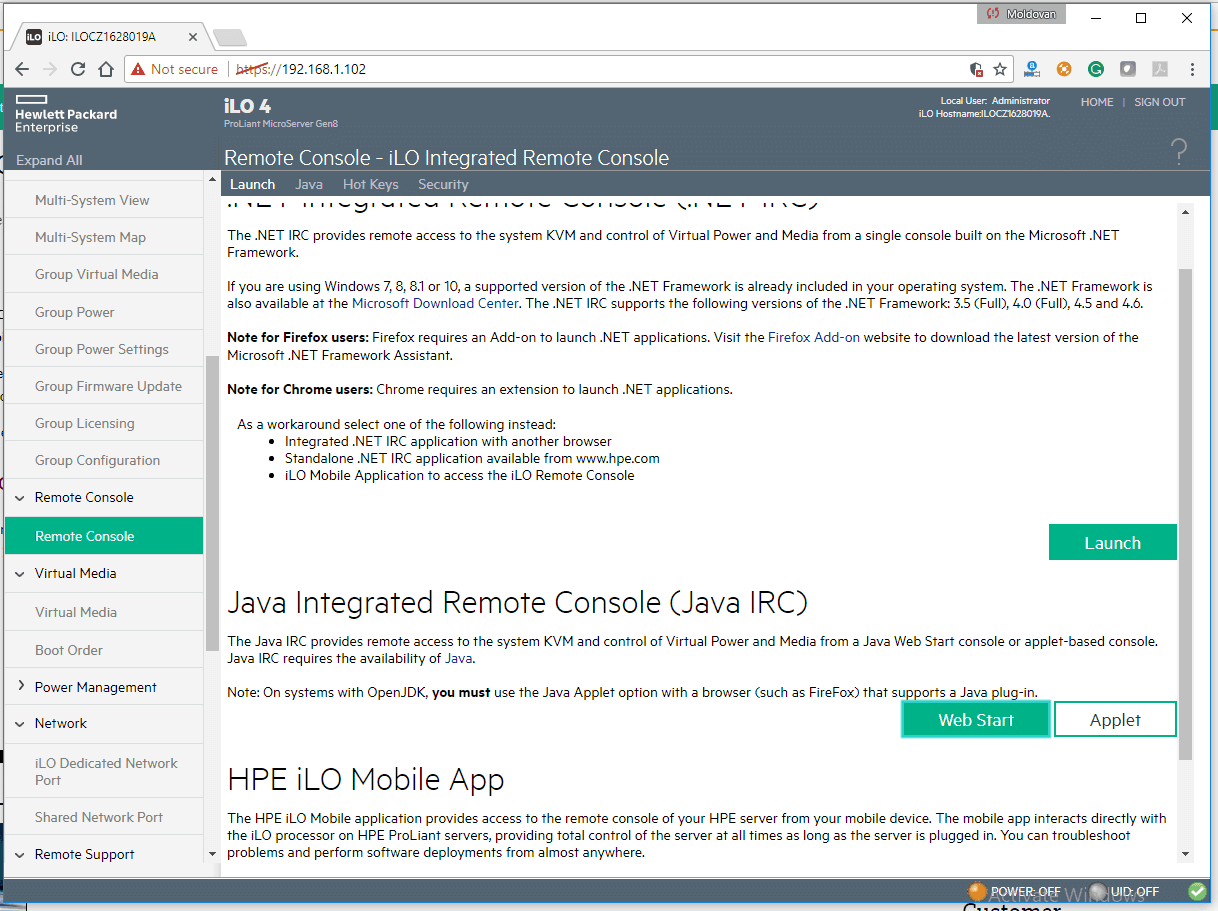
Navigate to Remote Console --> Remote Console
There are 2 methods to connect to the remote console:
- a .NET application that can be launch from Windows OS only.
- Java Applet or Web Start that can be launch from any operating system. Java needs to be installed and active from the browser.
I went with Java Web Start option.
Step 6
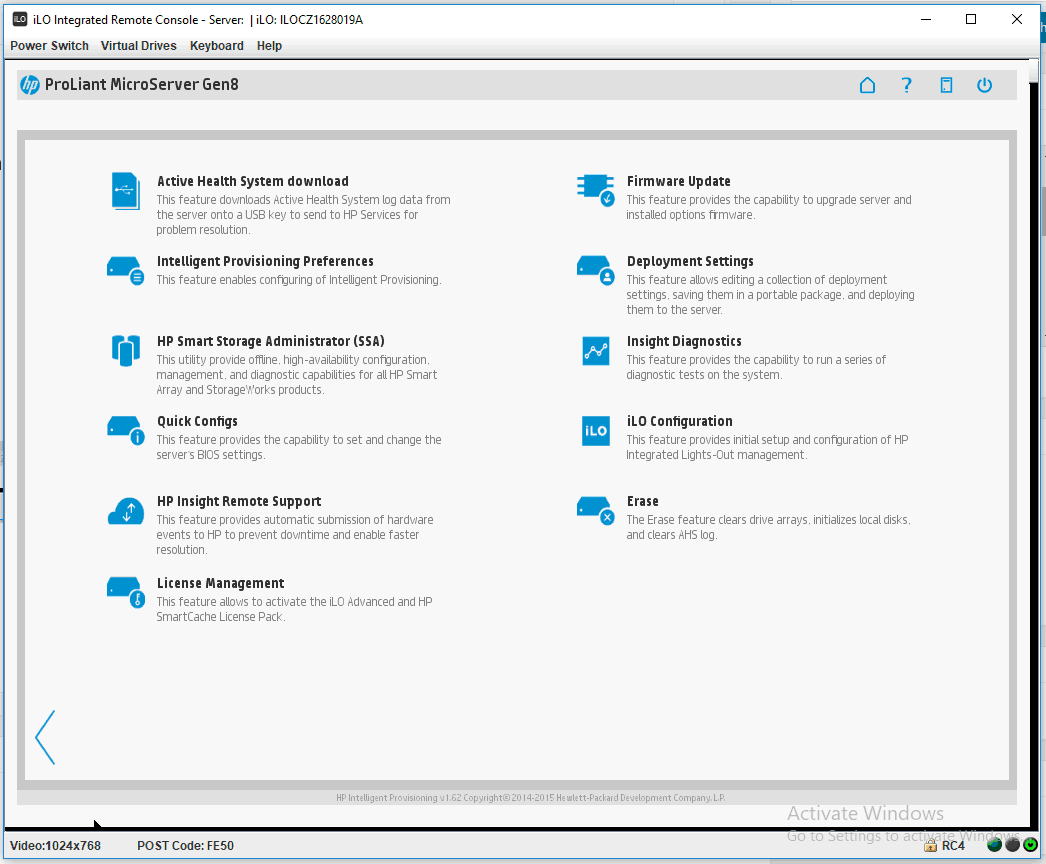
Because we started the server in Step3 the boot sequence will try to boot and because there is no OS yet will reboot every 5 sec. Press F10 when the following screen appears.
or when you have the screen
Step 7
Select Perform Maintenance option.
Step 8
Select HP Smart Storage Administrator (SSA) option.
Step 9
Create a RAID 0 with the SSD drive on it only. Note: make sure that is the first array created (first logical drive). This is the most important step.
If you need help how to create the RAID follow the HP Microserver Gen8 - Configure the RAID remotely tutorial.
Step 10
Select the controller from the left list (Dynamic Smart Array B120i RAID) and then Set Bootable Logical Drive/Volume action from the right.
Step 11
Select the Local - logical Drive 1 as the Primary Boot Logical Drive/Volume and then click Ok.
Step 12
Restart the server.
Step 13
When any of the screens from Step6 appear press F9 to enter the BIOS settings.
Step 14
Select Standard Boot Order (IPL) and press Enter.
Step 15
Move the IPL:1 as the first option.
Step 16
Press ESC to close the menu and F10 to confirm the changes.
Congratulations your HP Microserver Gen8 should now be able to boot from the SSD drive installed into the ODD bay.
References
- HP Microserver Gen8 - Configure the RAID remotely for Step9
- HP Microserver Gen8 - Install SSD in ODD slot if you need help how to install the SSD into ODD bay.


