How to convert VirtualBox to VMware virtual machine
vm
VirtualBox
VMware
convert
OVF

If you already have your virtual machines set up using VirtualBox, you don't necessarily have to install them from scratch if you need it to be used in VMware, the solution is to migrate your existing virtual machines.
VirtualBox and VMware use different virtual machine formats, but each supports the standard Open Virtualization Format. Converting your existing virtual machine to OVF or OVA you will be able to import it into another virtual machine program.
Step 1 - Power off
Before migrating a virtual machine from VirtualBox to VMware, ensure it's "powered off" in VirtualBox - not suspended. If it's suspended, launch the virtual machine and shut it down.
Step2 - Export the appliance
Select File --> Export Appliance...
From the virtual machines list select the virtual machine you want to export and click Next.
Provide the file location and click next.
Note: I did several tests with various virtual machines and I notice that the most success rate I had when I used OVF 1.0.
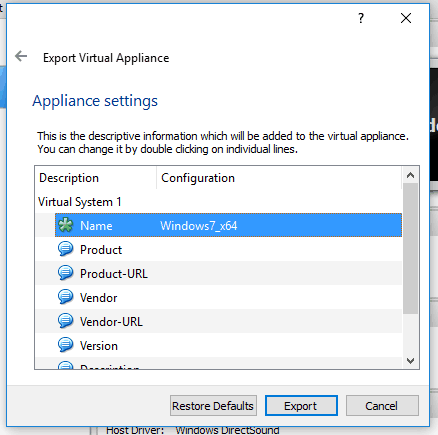
You can edit the Virtual Appliance details if needed. Press Export to start.
Now it's time to wait. Depending on the VM size and your computer performance this operation it might take some time. For me, it took about 30 min, even if the estimation was much higher.
Step3 - Import the appliance
To start the import right-click on the .ova file and select Open with --> VMware Workstation or Open with --> VMware Player, depends what version you have installed.
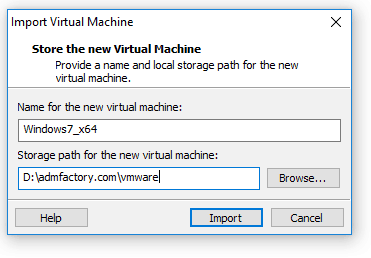
Select the path for the new virtual machine and click Import.
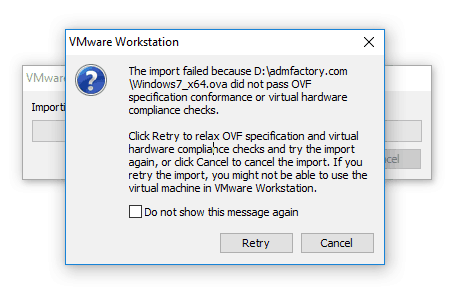
Warning: Unfortunately, this may not always work, as VirtualBox and VMware both seem to use slightly different OVA/OVF implementations that aren't entirely compatible. If this doesn't work, the only option id to do reinstall your virtual machine's guest operating system from scratch. To increase the chance of success use OVF 1.0 on the export step.
If you see this warning press Retry, it might work. If there is no error after this, you are on the good path.
Again, it's time to wait. Depending on the VM size and your computer performance this operation it might take some time. For me, it took about less than the export: 15 min. Highly influenced by the fact that the destination was on SSD drive.
After the operation is finished you are ready to edit the details if needed and start the VM in the new format.
Additional, you should uninstall VirtualBox Guest Additions from the Control Panel inside the virtual machine, and install VMware Tools from the virtual machine's menu. This will activate the sharing tools between the host and the guest.


