Create a Web Application with Maven in Eclipse
eclipse
java
maven
web application

This tutorial will follow the steps to create a webapp with maven in eclipse.
These tools were used here:
- Apache Maven 3.2.2
- Java 1.8.0_40
- Eclipse Mars
- Tomcat 8
Step 1 - New Project
Create a new project from Eclipse by selecting Maven --> Maven Project.
Step 2 - Location
Select the destination location. For this tutorial will use the default Workspace location.
Step 3 - Archetype
Search for the maven-archetype-webapp, select and click Next.
Step 4 - Add details
Fill out below details and click Finish.
The project structure will look like the following image.
Step 5 - error fix (optional)
If you see error "The superclass javax.servlet.http.HttpServlet" was not found on the Java Build Path then add below maven dependency.
<!-- https://mvnrepository.com/artifact/javax.servlet/servlet-api -->
<dependency>
    <groupId>javax.servlet</groupId>
    <artifactId>servlet-api</artifactId>
    <version>3.1</version>
    <scope>provided</scope>
</dependency>
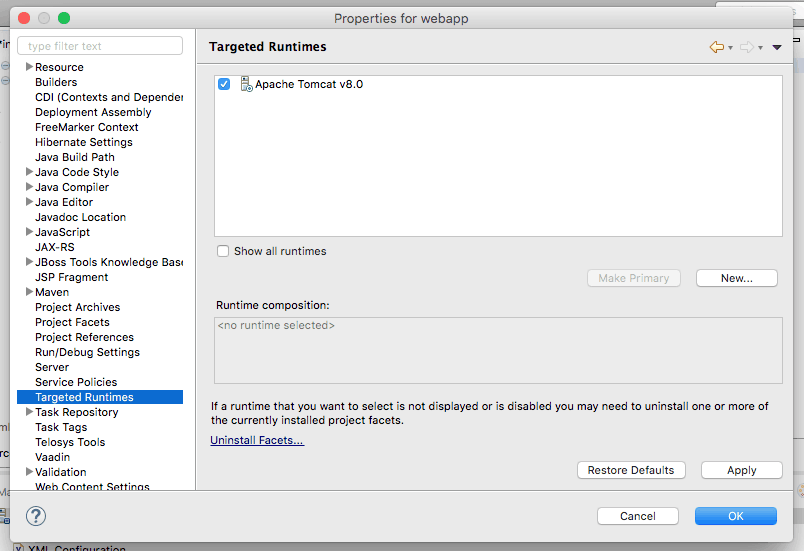
OR add Apache Tomcat to your Targeted Runtimes.
Step 6 - setup the server
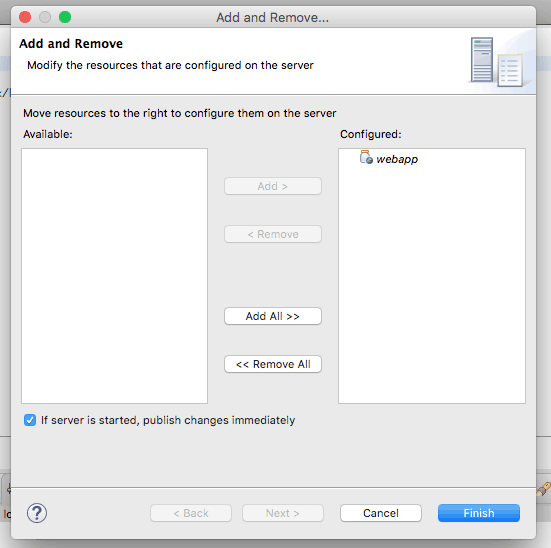
Add the project to the server.
Step 7 - test
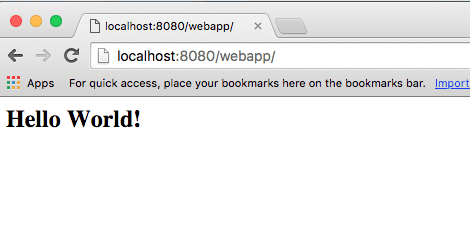
Open the link in the browser.
Now you are ready to go.


