HP Microserver Gen8 - Install SSD in ODD slot
HP Microserver Gen8
SSD
ODD

After a long search and comparison for a NAS, I came to the conclusion that I will build one using an HP Microserver Gen8. The main reasons for buying the Microserver where the flexibility that a system can offer and the price (currently - October 2016, there is a cashback offer within the UK only). After the cashback, the price is around £120 for the HPE Microserver Gen8.
The complete list of parts is composed of:
- HPE Microserver Gen8;
- 2 x WD red 3Tb;
- 1 x Samsung Pro 840 128Gb.
- power adapter - 4 male pin to SATA;
- 1 SATA cable.
This post will present the hardware setup of the server, including the HDDs and the SSD in the ODD drive space.
HPE Microserver Gen8
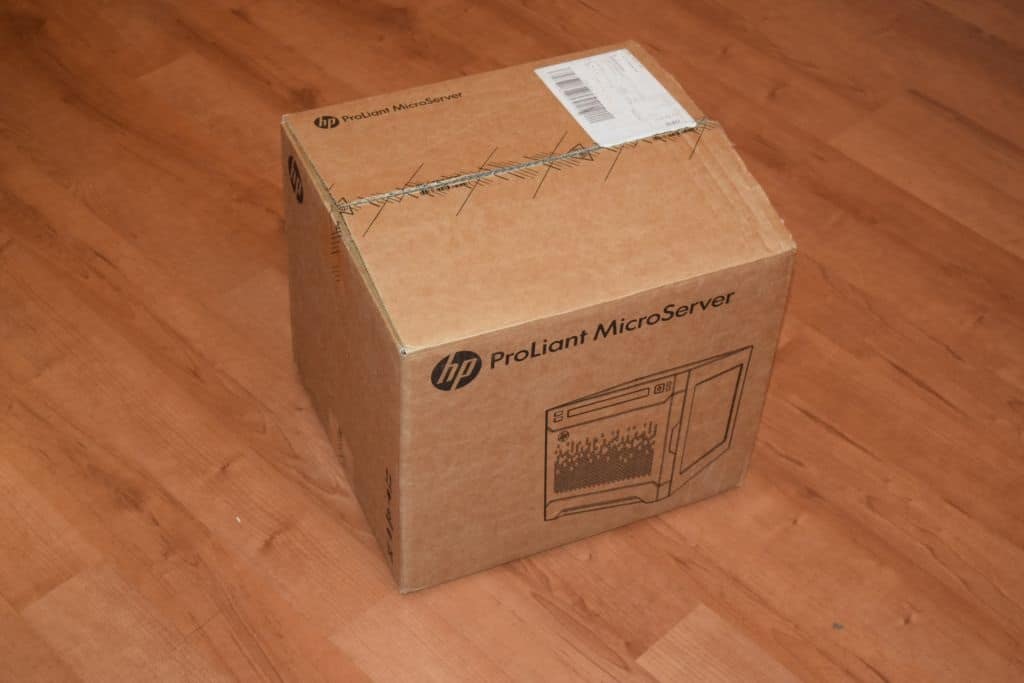
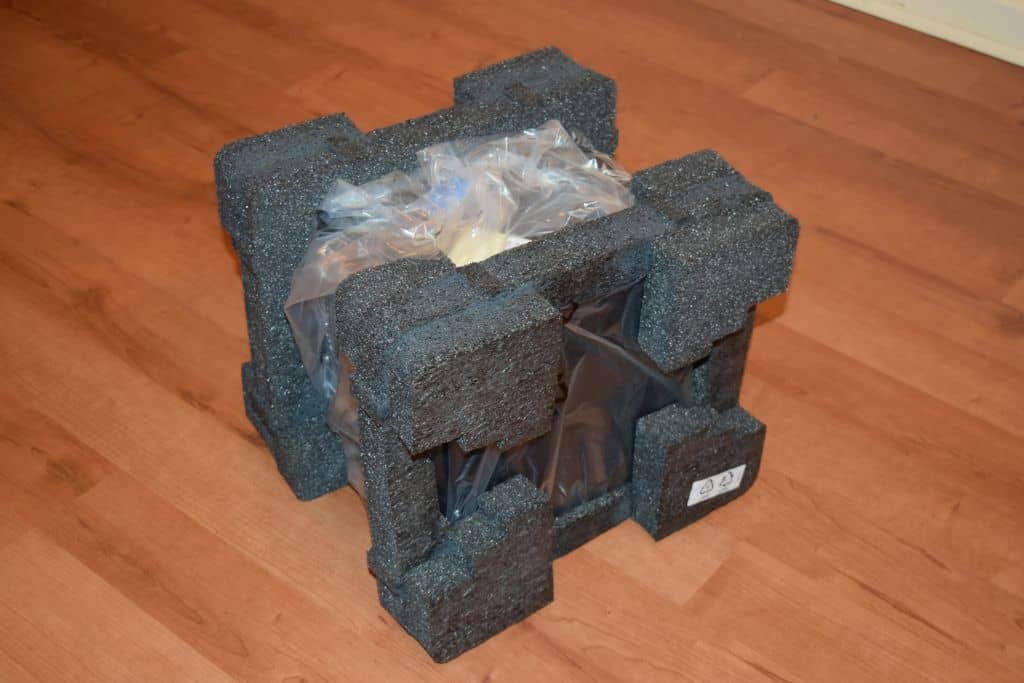
The server came in a box, well packed and protected.
The server is well protected in the box.
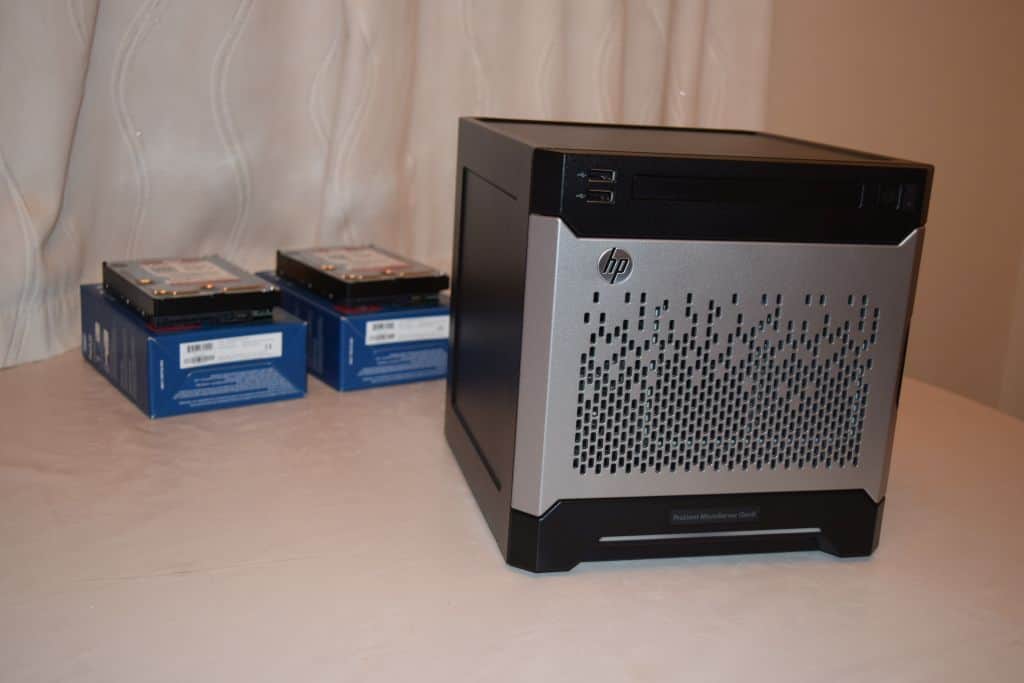
...and the final form.
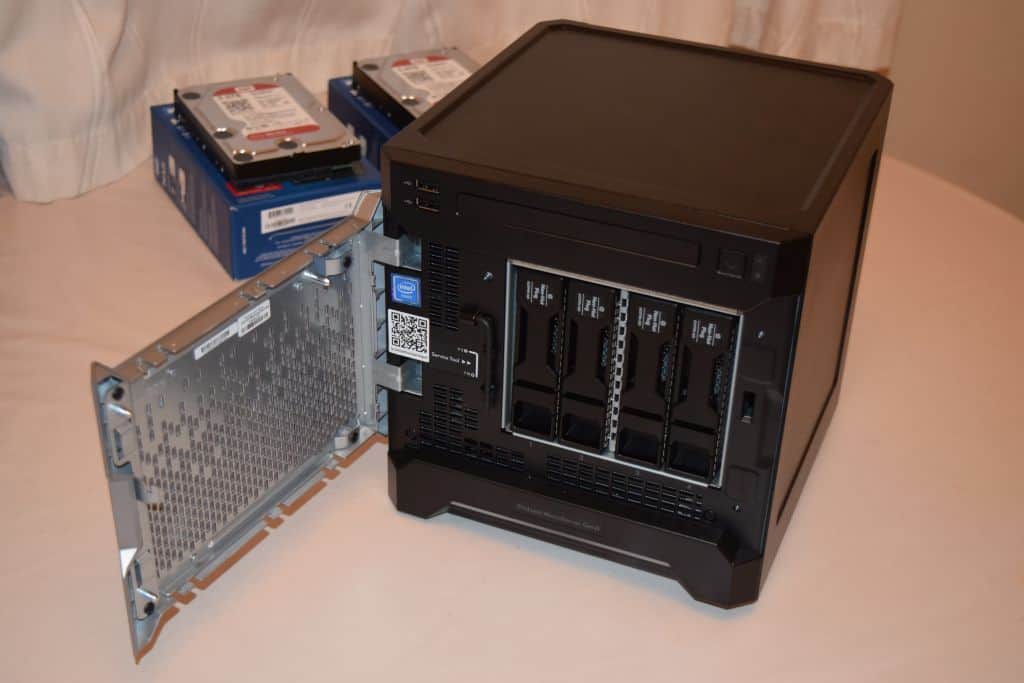
The access to the four drives is very easy through the front metal door.
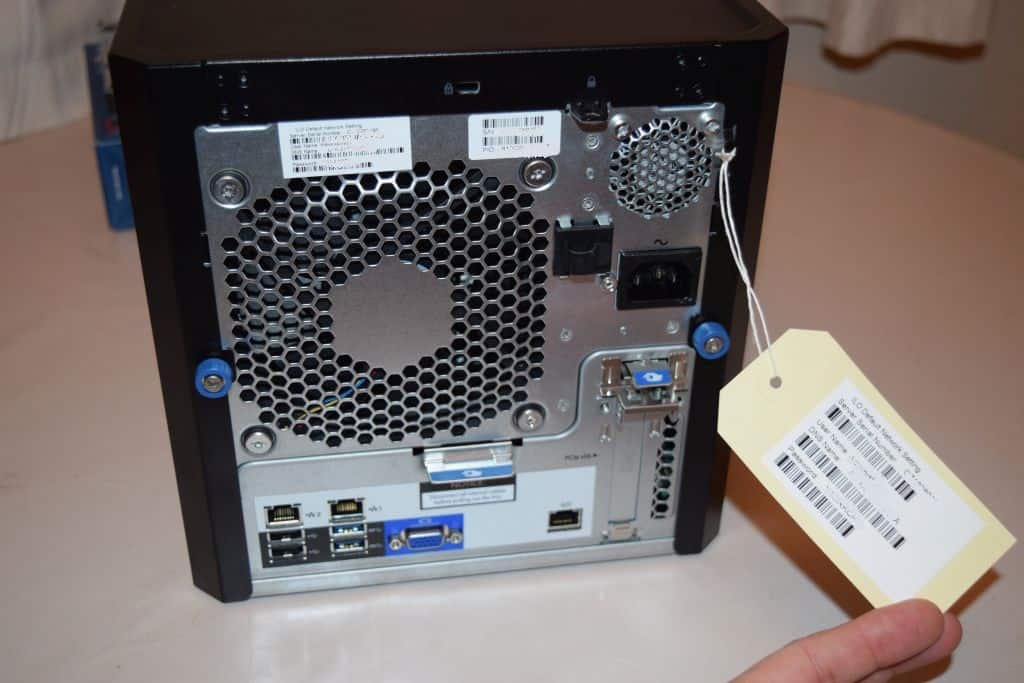
As can be seen in the image, at the back of the Gen8 is attached a label with ILO default settings.
SSD Install
As SSD I will use my old (not that old) Samsung 840 Pro, 128Gb
To connect will need a SATA cable.
...and the power adapter cable.
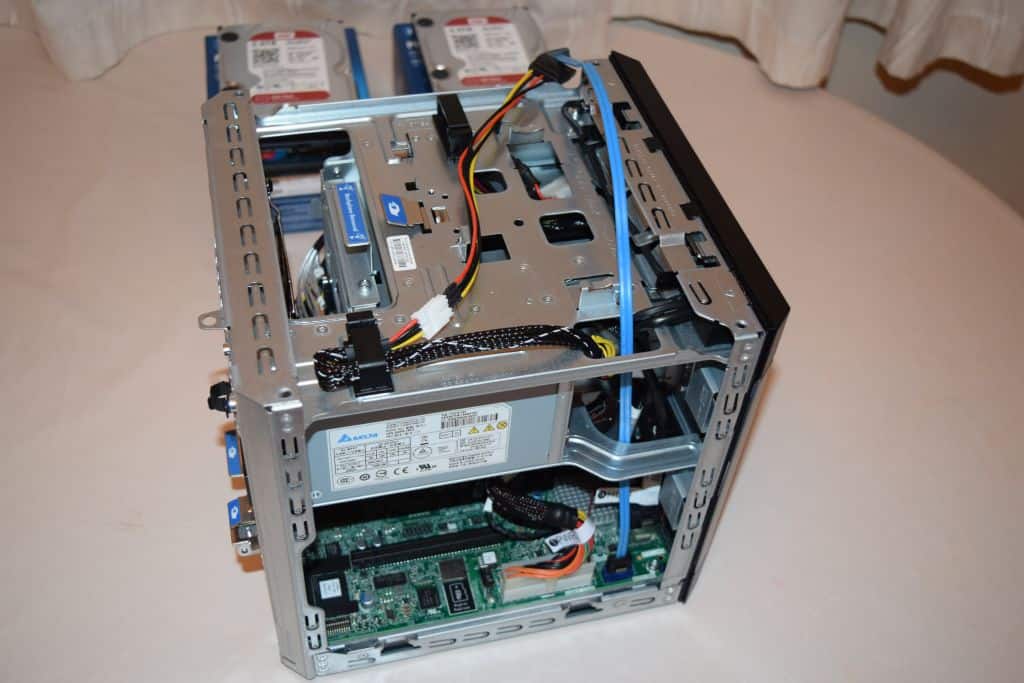
On the top of the server, you can find the power cable that is for the ODD. Connect the adapter cable as shown in the image.
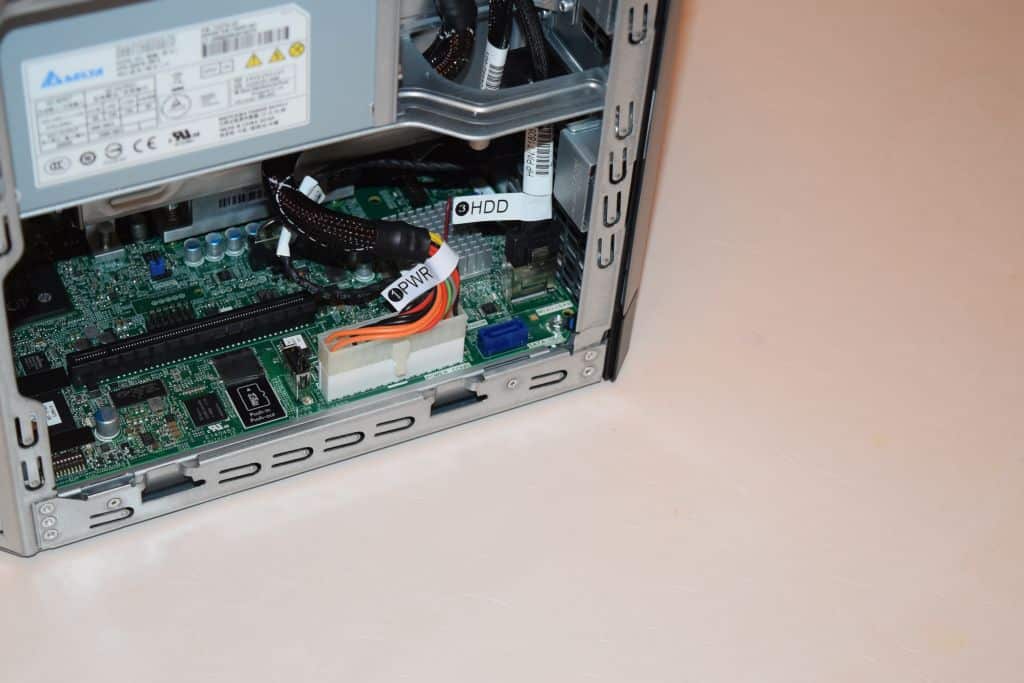
On the motherboard (on the left side), near the power connector, you can find the SATA port available for the ODD drive.
Connect the SATA cable to the SATA port.
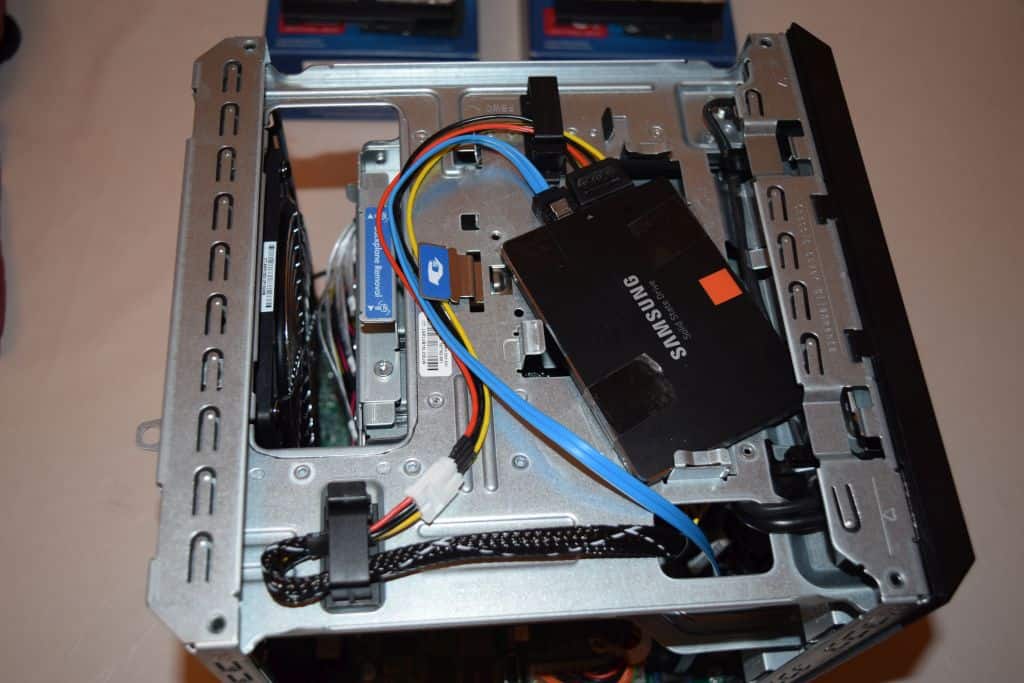
Connect the SATA cable and the power cable to the SSD and place the SSD in the ODD space. Make sure you are not forcing the cables. The SSD is fixed with some duck tape. If you don't want to do this improvisation, you can buy a generic adapter for the SSD. If you search "SSD caddy" on eBay, a lot of options will be found.
HDD Install
To take out the HDD slots you need to lift and pull from the bottom of each slot.
Remove the four screws from each panel.
and fix the HDD instead. My setup will use two HDDs.
To insert the HDD you just need to push the HDD inside and use the lever to lock the HDD.
Now put back the case and we are ready to start-up.
Follow the HP Microserver Gen8 - Boot from SSD install on ODD bay tutorial in order to configure the HP Microserver Gen8 to boot from the SSD drive.
